Be Flash For Eggs Perfect Charge Guide
Turn treadmill stamina into reliable wall breaks with repeatable charge timing.
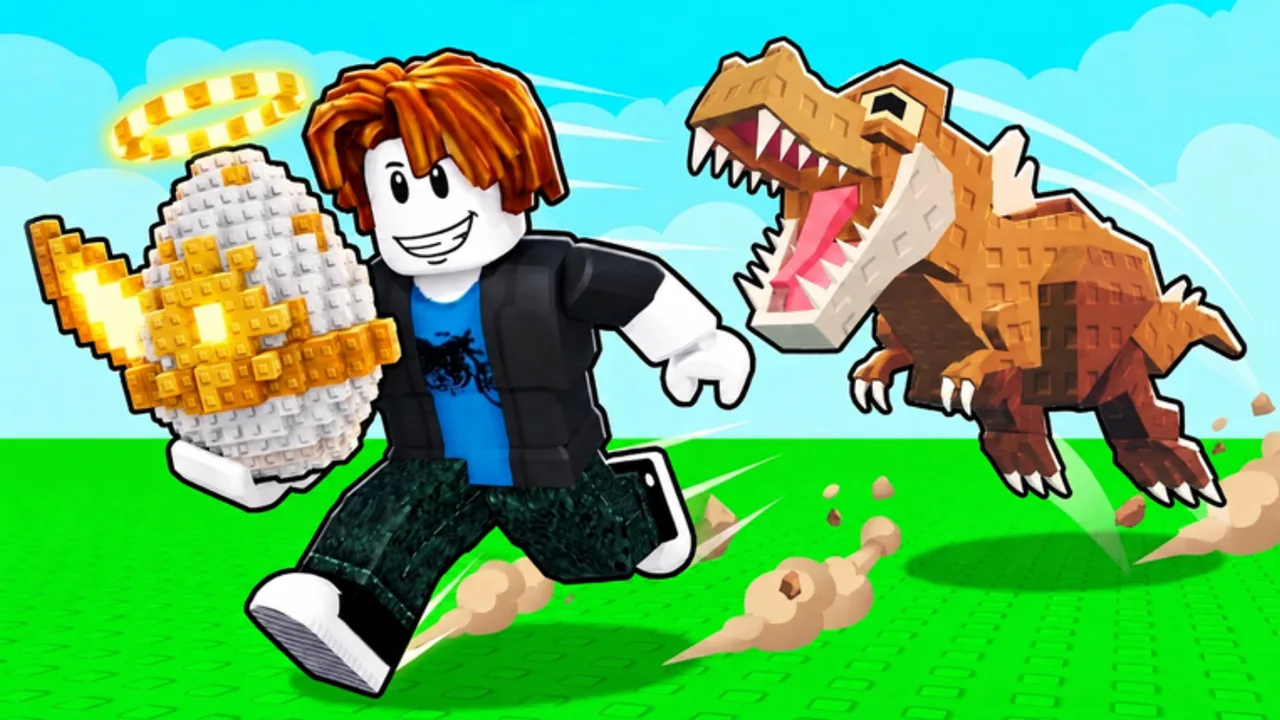
A perfect charge is the difference between a clean egg grab and watching stamina vanish on a glancing hit. In Be Flash For Eggs by Leaping inc, charge is not a mash button — it is a timed burst that converts treadmill stamina into distance through speed walls. This guide focuses on repeatable timing so farther walls (and rarer eggs) stop feeling random. Pair it with Controls for device bindings and Treadmill Training for the stamina budget behind every attempt.
Community scripts advertise Auto Perfect Charge because the mechanic is strict. You can play fully manual and still win if you treat charge like a short ritual: same starting mark, same camera, same hold window, same release line.
What charge actually does
Charge stores burst power before the sprint. Releasing too early underpowers the smash. Holding while you turn or panic-strafe dumps energy into a miss. A strong charge looks boring on purpose: lined-up approach, steady hold through the ready window, release into a straight sprint, impact, egg secured, then switch brain modes to hatch and escape.
Farther walls generally lean rarer. That does not mean you should max distance on day one. Perfect charge on a near wall builds the muscle memory you need for late-track smashes after upgrades.
Pre-charge checklist
- Confirm stamina is high enough for the wall distance you chose — undertrained charges fail before timing even matters.
- Stand on a repeatable starting mark you can find after every pen trip.
- Square the camera so the wall silhouette sits in the same screen position each try.
- Clear lateral stick or mouse drift; charge wants a straight line.
- Decide the target wall before you start holding — mid-charge wall shopping causes early releases.
If any step fails, walk back and reset. Resetting costs seconds; a mistimed rare-wall attempt costs a full stamina bar and tilt.
The timing window
Treat the charge bar (or on-screen ready cue) as a metronome:
- Begin hold from your mark at a consistent distance.
- Hold through the full useful window — do not tap-spam.
- Watch for the in-game ready cue if one is shown after a patch.
- Release into sprint without changing direction.
- Keep camera stable through impact; post-impact look flicks belong to the escape phase, not the smash phase.
Device notes
- PC — camera discipline is the upgrade. Center the wall, hold, release; avoid last-second mouse flicks.
- Mobile — hold Charge steadily; enlarge UI if needed so the button never hides under your thumb. Pre-aim before the hold starts.
- Controller — use the stick’s stability: walk to the mark, hold trigger or face button per prompt, release forward without lateral drift.
Full binding tables live on Controls. This page assumes you already know which key starts the hold.
Distance versus rarity
Speed walls farther down the track tend to drop rarer eggs, which is why players chase perfect charges after treadmill upgrades. A practical ladder:
- Near walls — practice timing until smash success feels automatic.
- Mid walls — introduce once near-wall timing is boring and stamina upgrades support the distance.
- Far walls — only after pens fund upgrades and you can afford failed chases on high-value eggs.
If you break a far wall but lose the chase every time, you do not have a charge problem — you have an escape problem. Fix that in How to Hatch and Escape before burning more stamina on max distance.
Common perfect-charge failures
- Charging while turning — curved paths glance off walls.
- Forcing far walls undertrained — stamina gates beat ego.
- Mashing instead of holding — charge wants a deliberate hold.
- Camera panic at release — look-axis flicks steer you into a miss.
- Changing targets mid-hold — pick the wall first.
- Skipping warm-up after AFK or rebirth — do two short practice smashes before a rare attempt.
Five-minute drill
Use short walls only:
- Five approaches where you only practice lining up — no charge yet.
- Ten full charge-sprint smashes on the same near wall.
- Five hatch-and-escape attempts focusing on calm movement after impact.
- Log smash success rate; stay on the drill until most attempts land.
Repeat this drill after every rebirth. Multipliers change how fast you rebuild stamina, but the charge ritual stays the same.
How charge ties into the economy
Perfect charges feed the rest of the loop. Clean smashes mean more eggs hatched, more animals penned, more cash per second, more treadmill upgrades, and more Index entries. Codes such as RELEASE, SOON, and 1MVISITS on the Codes hub accelerate the cash and potion side so you can afford the training that makes charge windows forgiving.
Mutations (Gold, Diamond, Rainbow, Galaxy during events) reward players who can land far-wall eggs consistently — see Mutations and the Tier List. Index completion bonuses stack on top; a reliable charge is the gateway to filling slots without wasting every rare egg on a mistimed approach.
Scripts and Auto Perfect Charge
Some community tools advertise automatic charge timing. If you experiment, read the risk notes on Scripts first, disable autos after patches, and never share account credentials with “private hubs.” Manual mastery remains the safe baseline: the drill above works on any device without third-party software.
After an update
Leaping inc may retune wall distances, stamina costs, or UI prompts. When the place updates:
- Re-read on-screen charge prompts.
- Run the five-minute near-wall drill once.
- Confirm mid and far walls still match your stamina budget.
- Only then resume rare-egg farming or optional automation.
Track broader patch themes on Updates.
Related pages
- Controls — bindings and device tips
- Treadmill Training — stamina and upgrade order
- How to Hatch and Escape — post-smash chase
- Getting Started — day-one loop
- Daily Rewards — free gifts that fund training
- Index Completion — why clean eggs matter long term
Master the boring ritual. Perfect charge is not flashy — it is the skill that makes every other Be Flash For Eggs system pay out on schedule.
Frequently Asked Questions
Quick answers to the most common questions.
What is a perfect charge in Be Flash For Eggs?
A full, straight hold-and-release into sprint that breaks a speed wall cleanly. Same starting mark, steady hold, no mid-charge turns.
Why do my charges miss even with full stamina?
Usually camera drift, early release, or charging while turning. Practice ten identical near-wall smashes before returning to far walls.
Should I learn perfect charge or train the treadmill first?
Train enough stamina for short walls, then lock charge timing on those walls. Far walls need both depth and clean timing.
Does Auto Perfect Charge replace practice?
Automation is optional and risky. Manual drills keep you safe after patches and work without third-party tools — see the Scripts hub for warnings.
When should I attempt far walls?
After near-wall timing feels automatic and treadmill upgrades support the distance. Fix escape skill before burning rare eggs on max-distance misses.