Be Flash For Eggs Controls Guide
Movement, charge, sprint, and interact bindings — with charge timing tips that win more walls.
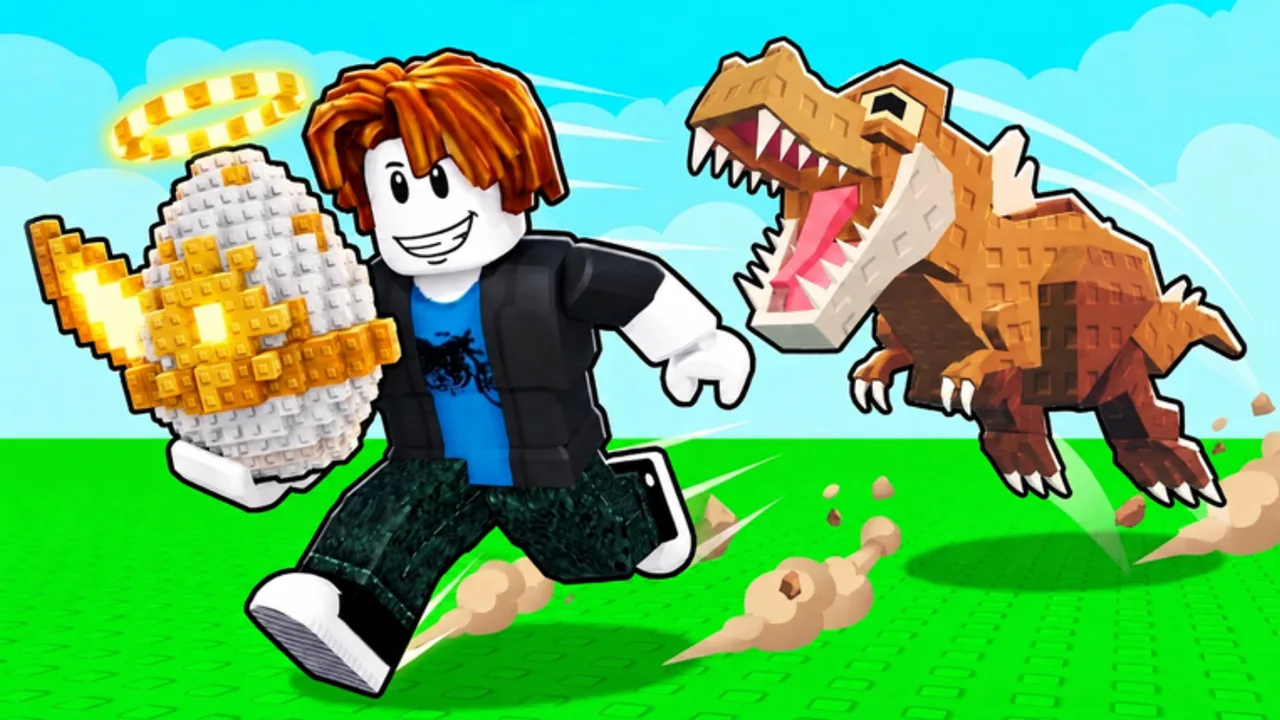
Clean inputs decide whether your Be Flash For Eggs run ends in a penned animal or a lost egg. This controls guide covers typical Roblox-style bindings for PC, mobile, and controller play, then focuses on charge timing — the skill that turns treadmill stamina into broken speed walls. Pair it with Getting Started if you are brand new, and with Treadmill Training when stamina, not fingers, is the bottleneck.
Roblox experiences can remap prompts slightly after updates. Treat the tables below as the expected layout; if an on-screen hint differs, follow the in-game prompt and keep the timing advice.
PC controls
| Action | Typical binding | Notes |
|---|---|---|
| Move | WASD | Strafe early to line up the wall approach |
| Look / camera | Mouse | Keep the next wall centered before charge |
| Jump | Space | Use sparingly; bad jumps waste approach lines |
| Charge | Hold prompt key (often click or listed key) | Build power before the sprint release |
| Sprint / release run | Sprint key or release charge into sprint | Commit once the charge feels full |
| Interact / claim / pen | E or on-screen Interact | Gifts, pens, shops, and egg pickups |
On PC, the biggest upgrade is camera discipline. Center the wall, start charge from a straight line, and avoid last-second mouse flicks that pull you off the smash angle.
Mobile controls
| Action | Typical control | Notes |
|---|---|---|
| Move | Left thumb stick / virtual joystick | Keep travel smooth; jitter burns stamina paths |
| Camera | Right-side drag | Pre-aim the wall before you charge |
| Charge | On-screen Charge button | Hold steadily; do not mash |
| Sprint | Sprint button or auto-release after charge | Release into a clean forward line |
| Interact | Tap Interact / proximity button | Claim gifts and pen animals without menu diving |
Mobile players should enlarge or reposition UI if Roblox settings allow, so Charge and Sprint never hide under fingers. Practice two or three short walls until the hold-and-release rhythm feels automatic.
Console / controller style
| Action | Typical control | Notes |
|---|---|---|
| Move | Left stick | Gentle inputs beat hard snaps |
| Camera | Right stick | Lock the wall silhouette before charge |
| Charge | Trigger or face button per prompt | Hold for a full charge window |
| Sprint | Sprint bind / release into run | Commit forward; avoid lateral stick drift |
| Interact | Interact button | Pens, chests, daily UI, group gift prompts |
Controller aim is excellent for stable approaches. Use that strength: walk into a repeatable starting mark, charge, and release on the same visual cue every time.
Charge timing — the skill that pays
Charge stores the burst you need to smash a speed wall. Releasing too early underpowers the hit. Holding awkwardly while strafing can dump stamina into a miss. Perfect timing looks boring: lined-up approach, steady hold, release into a straight sprint, impact, egg secured.
Timing checklist
- Confirm stamina is high enough for the chosen wall distance.
- Square your camera so the wall fills a consistent screen position.
- Begin charge from a set distance you can repeat.
- Hold through the full useful charge window — watch for the in-game ready cue if one exists.
- Release into sprint without changing direction mid-burst.
- After impact, switch mental mode to hatch and escape — see How to Hatch and Escape.
Common charge mistakes
- Charging while turning — curved paths waste the burst and glance off walls.
- Forcing far walls undertrained — farther walls lean rarer but demand more stamina and cleaner timing. Train first.
- Mashing instead of holding — charge wants a deliberate hold, not panic taps.
- Camera panic at release — flicking the look axis during sprint steers you into a miss.
- Ignoring Interact after success — eggs and pens still need clean claims; fat-finger menus can stall a good run.
Practice drills (five minutes)
Use short walls only:
- Ten approaches where you only practice lining up — no charge yet.
- Ten full charge-sprint smashes on the same near wall.
- Five hatch-and-escape attempts focusing on calm movement after the smash.
If smash success is below most attempts, stay on this drill before you spend cash chasing rare distance. Controls skill multiplies every treadmill upgrade you buy later.
Accessibility and comfort tips
- Lower camera sensitivity if you over-steer on release.
- Stand slightly farther from the wall if you keep clipping early geometry.
- Take a breath between failed charges; tilt makes timing worse.
- After a long AFK, re-do two short practice smashes before a rare-wall attempt.
How controls connect to the rest of the wiki
- Build stamina capacity in Treadmill Training.
- Convert successful smashes into kept animals via How to Hatch and Escape.
- Spend early rewards from Codes on training that makes charge windows more forgiving.
- When mutations and Index matter, use the Tier List so perfected controls are aimed at high-value targets.
- After rebirth, expect to re-learn timing under new multipliers — skim Rebirth so the reset plan includes a short controls warm-up.
Mastering controls will not replace the economy loop, but it removes the most frustrating failure mode: watching stamina vanish on a mistimed wall. Nail the table for your device, then treat charge timing as a daily warm-up before serious runs.
Frequently Asked Questions
Quick answers to the most common questions.
What are the main Be Flash For Eggs controls?
Move with WASD or a stick, hold Charge to build power, Sprint into speed walls, and use Interact for gifts, eggs, and pens. Check in-game prompts if a patch remaps a key.
How do I time a perfect charge?
Line up straight, hold through the full charge window, then release into a forward sprint without turning. Practice on near walls until the rhythm is automatic.
Why do I keep missing walls on mobile?
Camera drift and mashed Charge taps are common. Pre-aim the wall, hold Charge steadily, and keep the release line straight.
Should I learn controls or train stamina first?
Do both lightly: enough treadmill stamina for short walls, then controls drills. Far walls need training depth plus clean timing.